

Chocolate Cookie with Milk Chocolate and Cacao Nibs
May I confess something? Ok, a couple of confessions? First off, I am not going to attempt a lame sort of explanation of where I have been. If you know me, you are probably familiar with all of the reasons, essentiate beings, and hubbub that is in a constant, harmonious, and often-frenetic orbit over here. If we have yet to meet, just know how much I enjoy cooking, photographing, and writing for this blog and that I never actually intend for months to pass without a recipe.
Confession #2: I….like…..milk chocolate.
Wait, wait, no judging. I am a deadly serious dark chocolate lover. Want to send me my favorite chocolates? How about Amano Dos Rios, Madecasse 70%, Pralus 75% Cuba, almost anything by Amedei, Woodblock salt and nibs bar, or just a good old Raleigh bar? All dark chocolates right? Yes. But, Ay, there’s the rub.
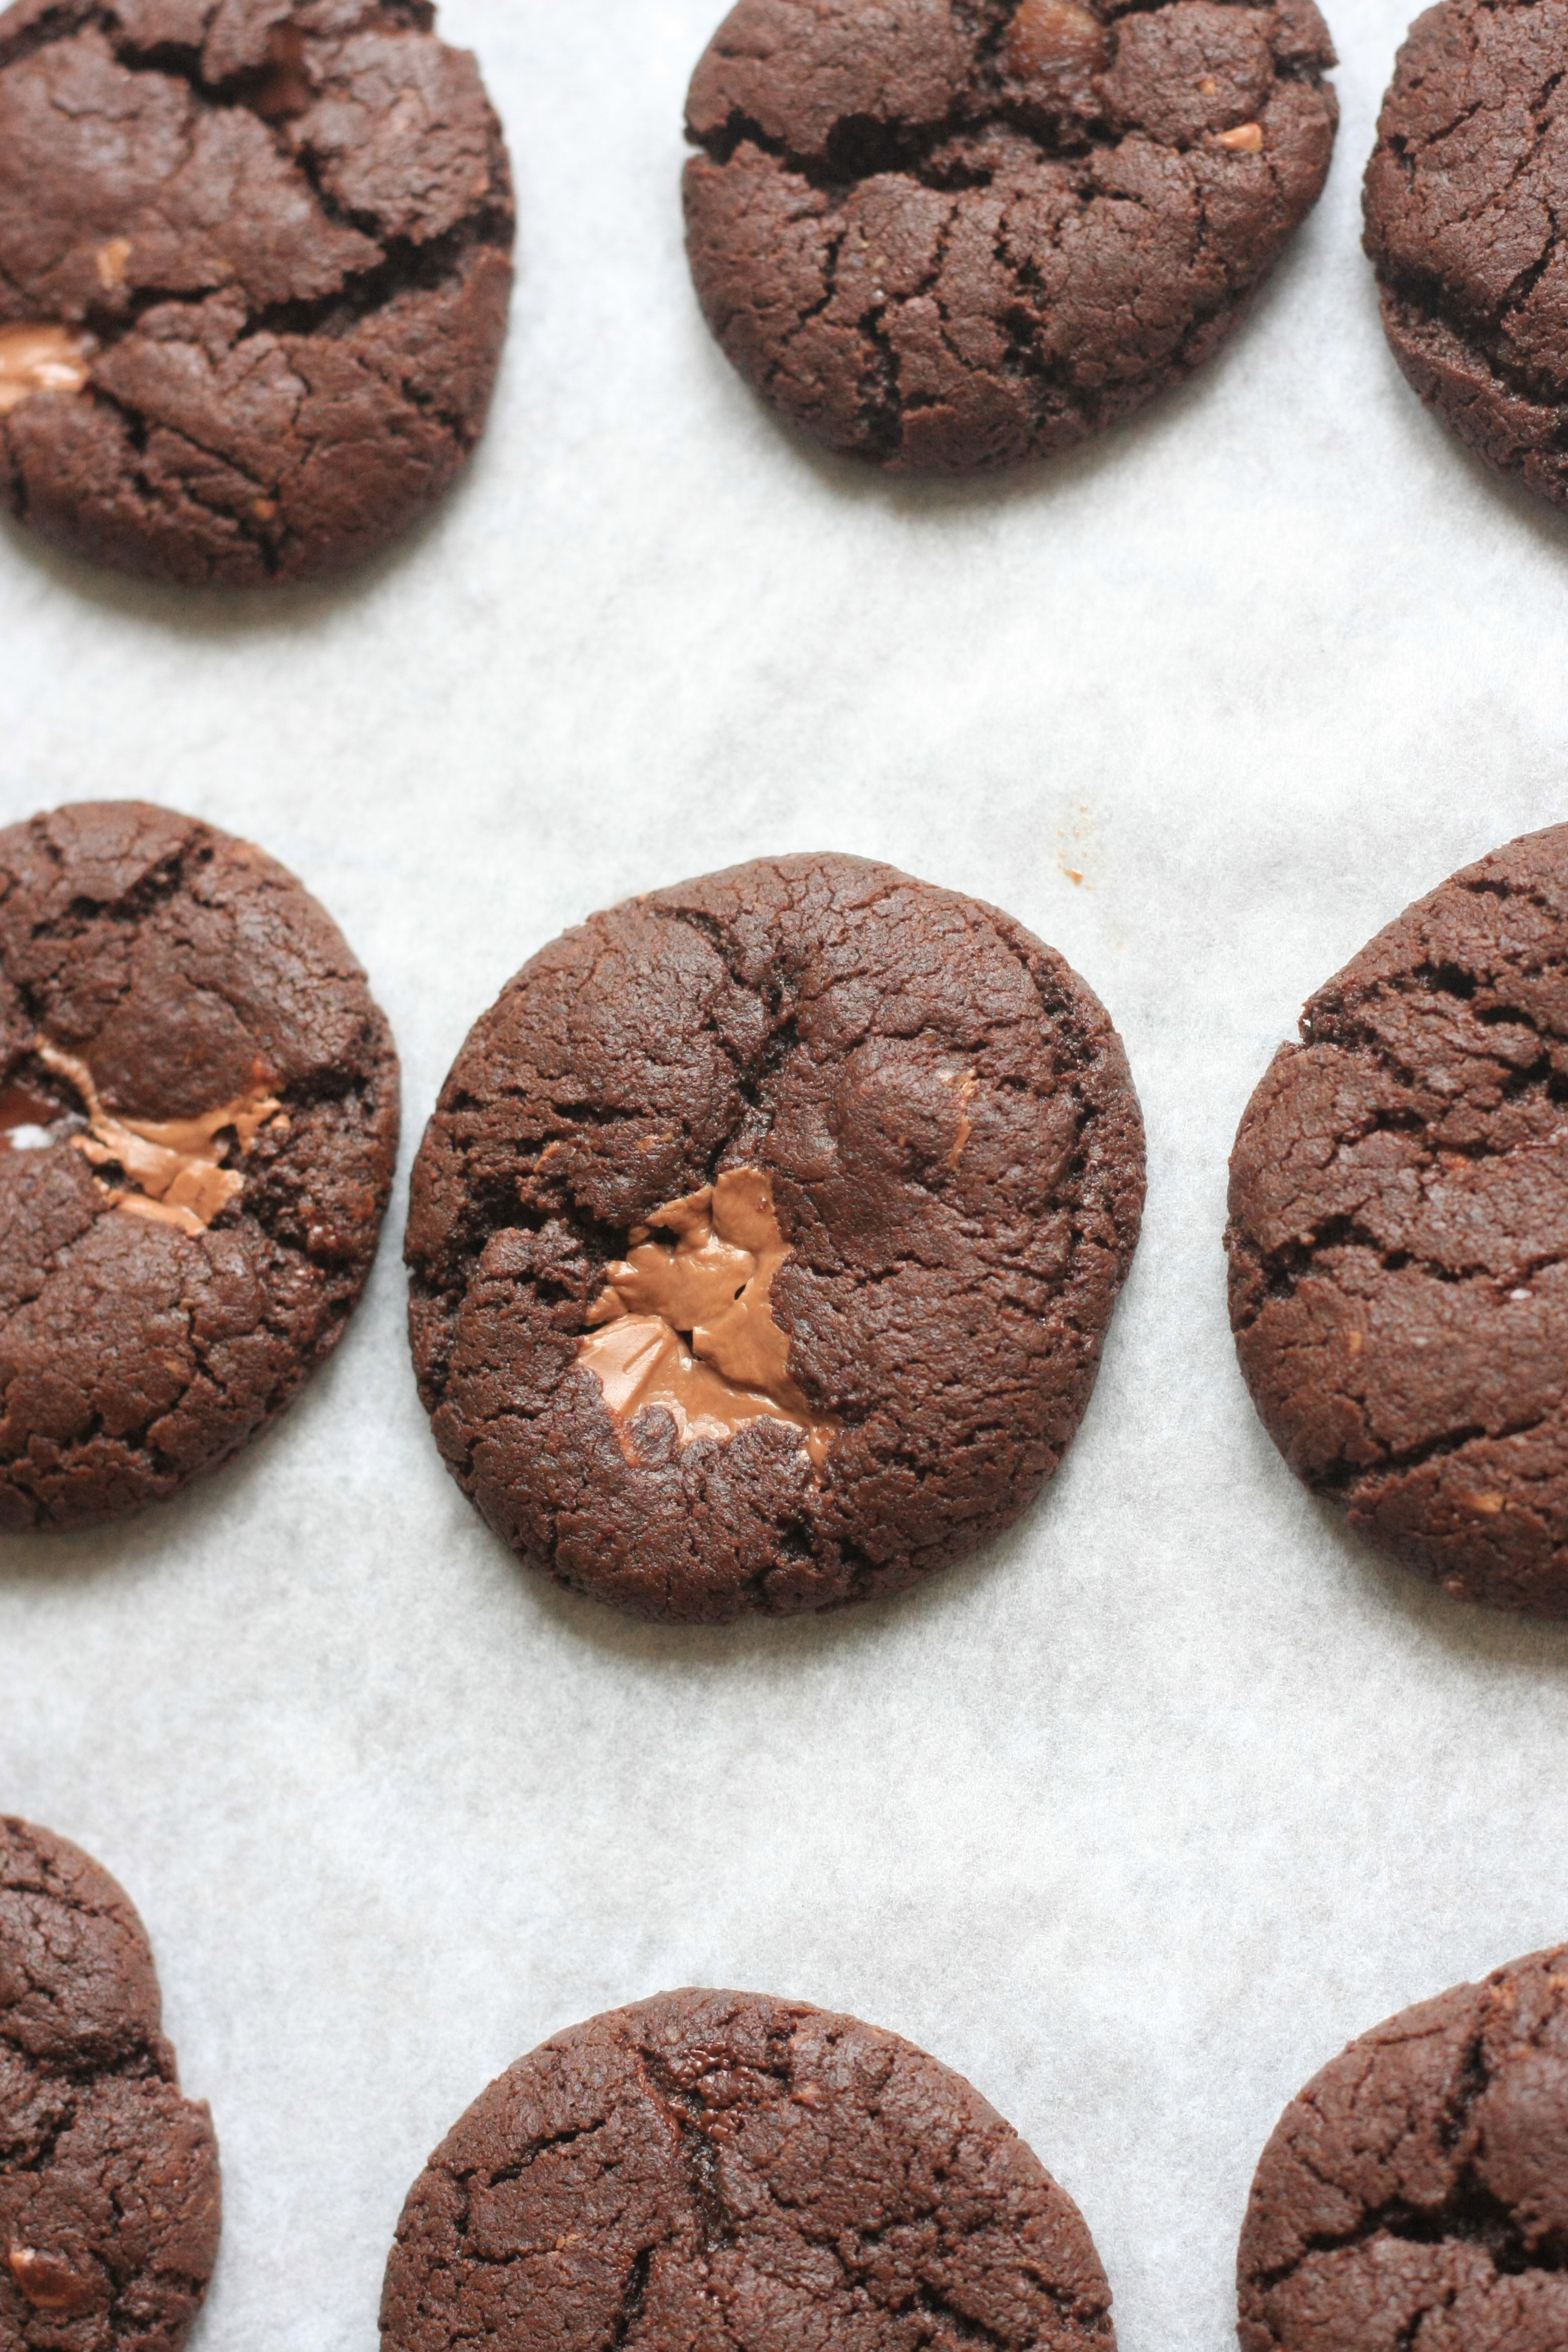
Chunks of melted milk chocolate
Milk chocolate is something different. I refuse to play the milk-versus-dark game because it is akin to comparing apples and oranges. Milk chocolate is chocolate with milk fats (uh…butter…or even brown butter) and milk solids added, as opposed to a dark chocolate bar, which typically has only cocoa butter as its added fat. (I promise not to go on another rant about why the supermarket chocolate bar is neither a dark nor a milk chocolate bar because that usually has palm oil, vegetable oil, or some other mess desecrating the chocolate completely.)
There are a host of incredible “dark milk” bars, as they are called these days that one can choose from. My favorite ones are in the 40%-50% range, but a good milk chocolate may contain less, closer to 33%. (Mind you, that a Hershey’s “milk chocolate” bar has 11% chocolate solids).
As I have experimented with these milk chocolates over the past year or so I have made a couple of decisions about recipes with milk chocolate. First, what I appreciate most about the flavor of good milk chocolate is the caramel flavor backing the chocolate. As for the smoothness of the bar, I love how it coats the mouth like a mildly tannic wine. As such, I veer towards combinations that play the texture and flavor of chunks of milk chocolate off of other bittersweet chocolate flavors or crunchy bits.
My favorite decadent snack is one such play: toasted pecans, cacao nibs, fleur de sel, and good milk chocolate.

Milk chocolate, cacao nibs, toasted pecans, and fleur de sel
I assure that this snack is worthy of a dinner party dessert. If you had the time to temper the chocolate yourself and then let it all set into a bar, it would be phenomenal.
With these preferences in mind, I set to adapting a favorite cookie to the milk chocolate-meets-bittersweet-crunch philosophy.
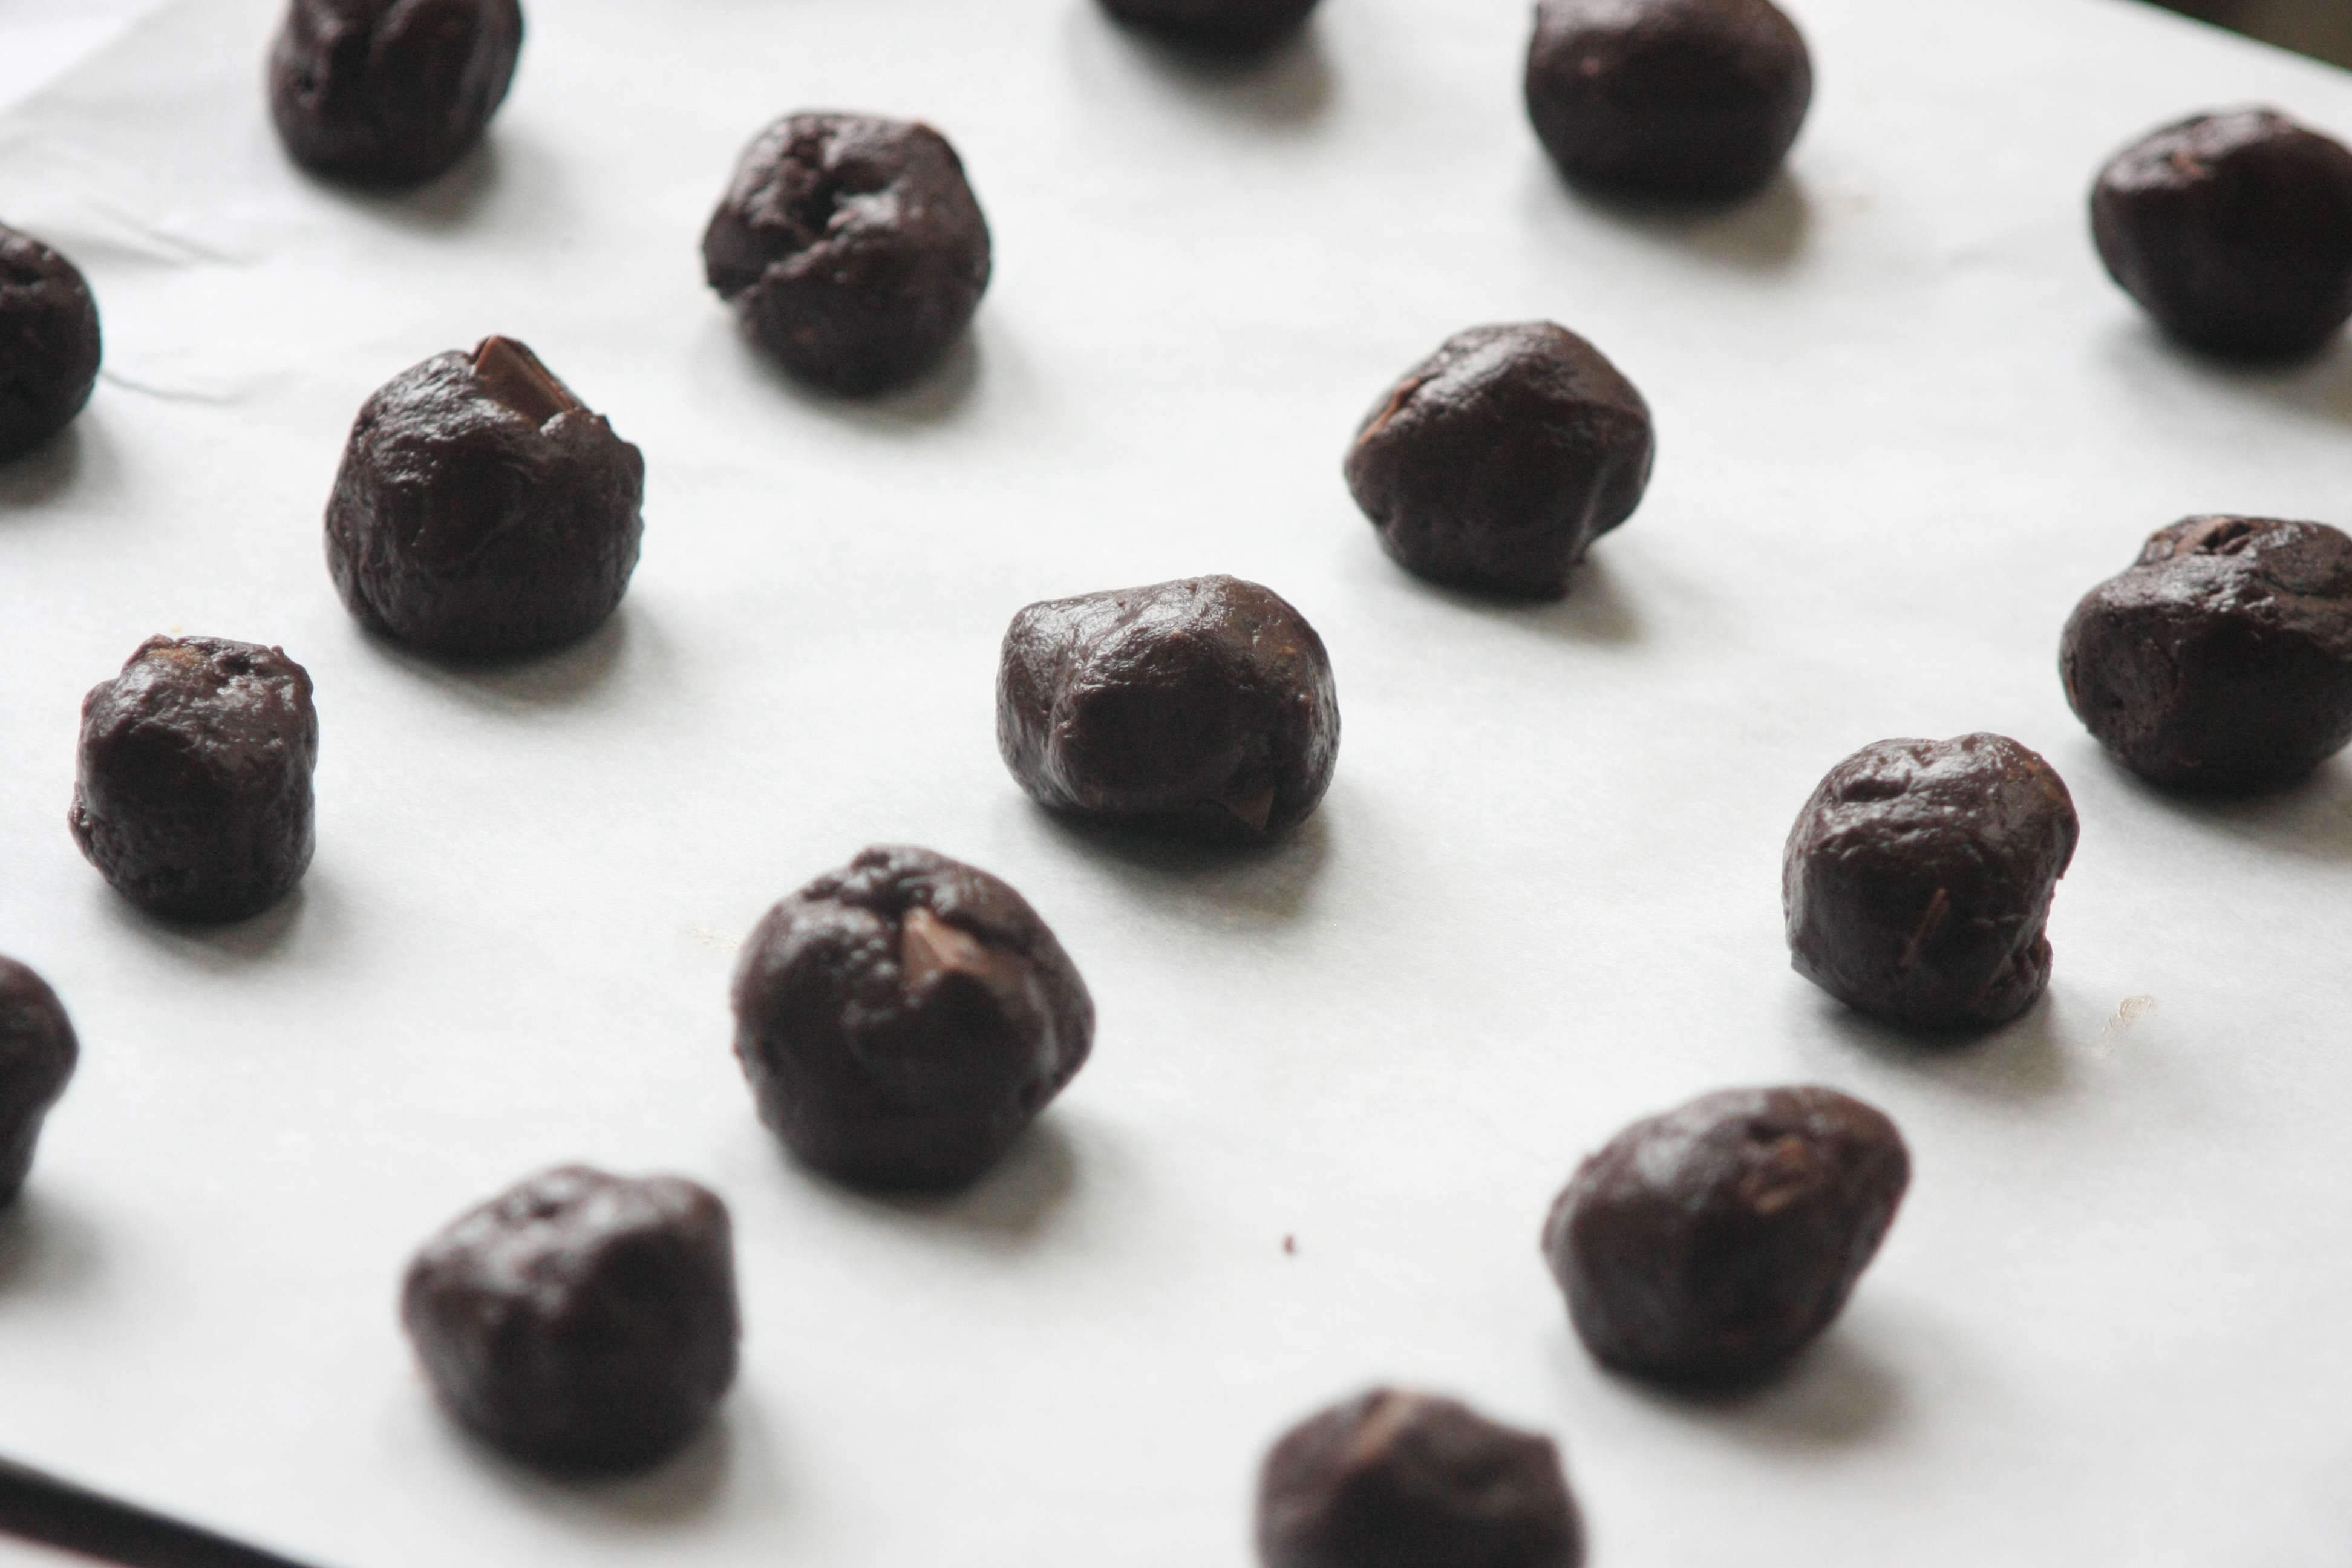
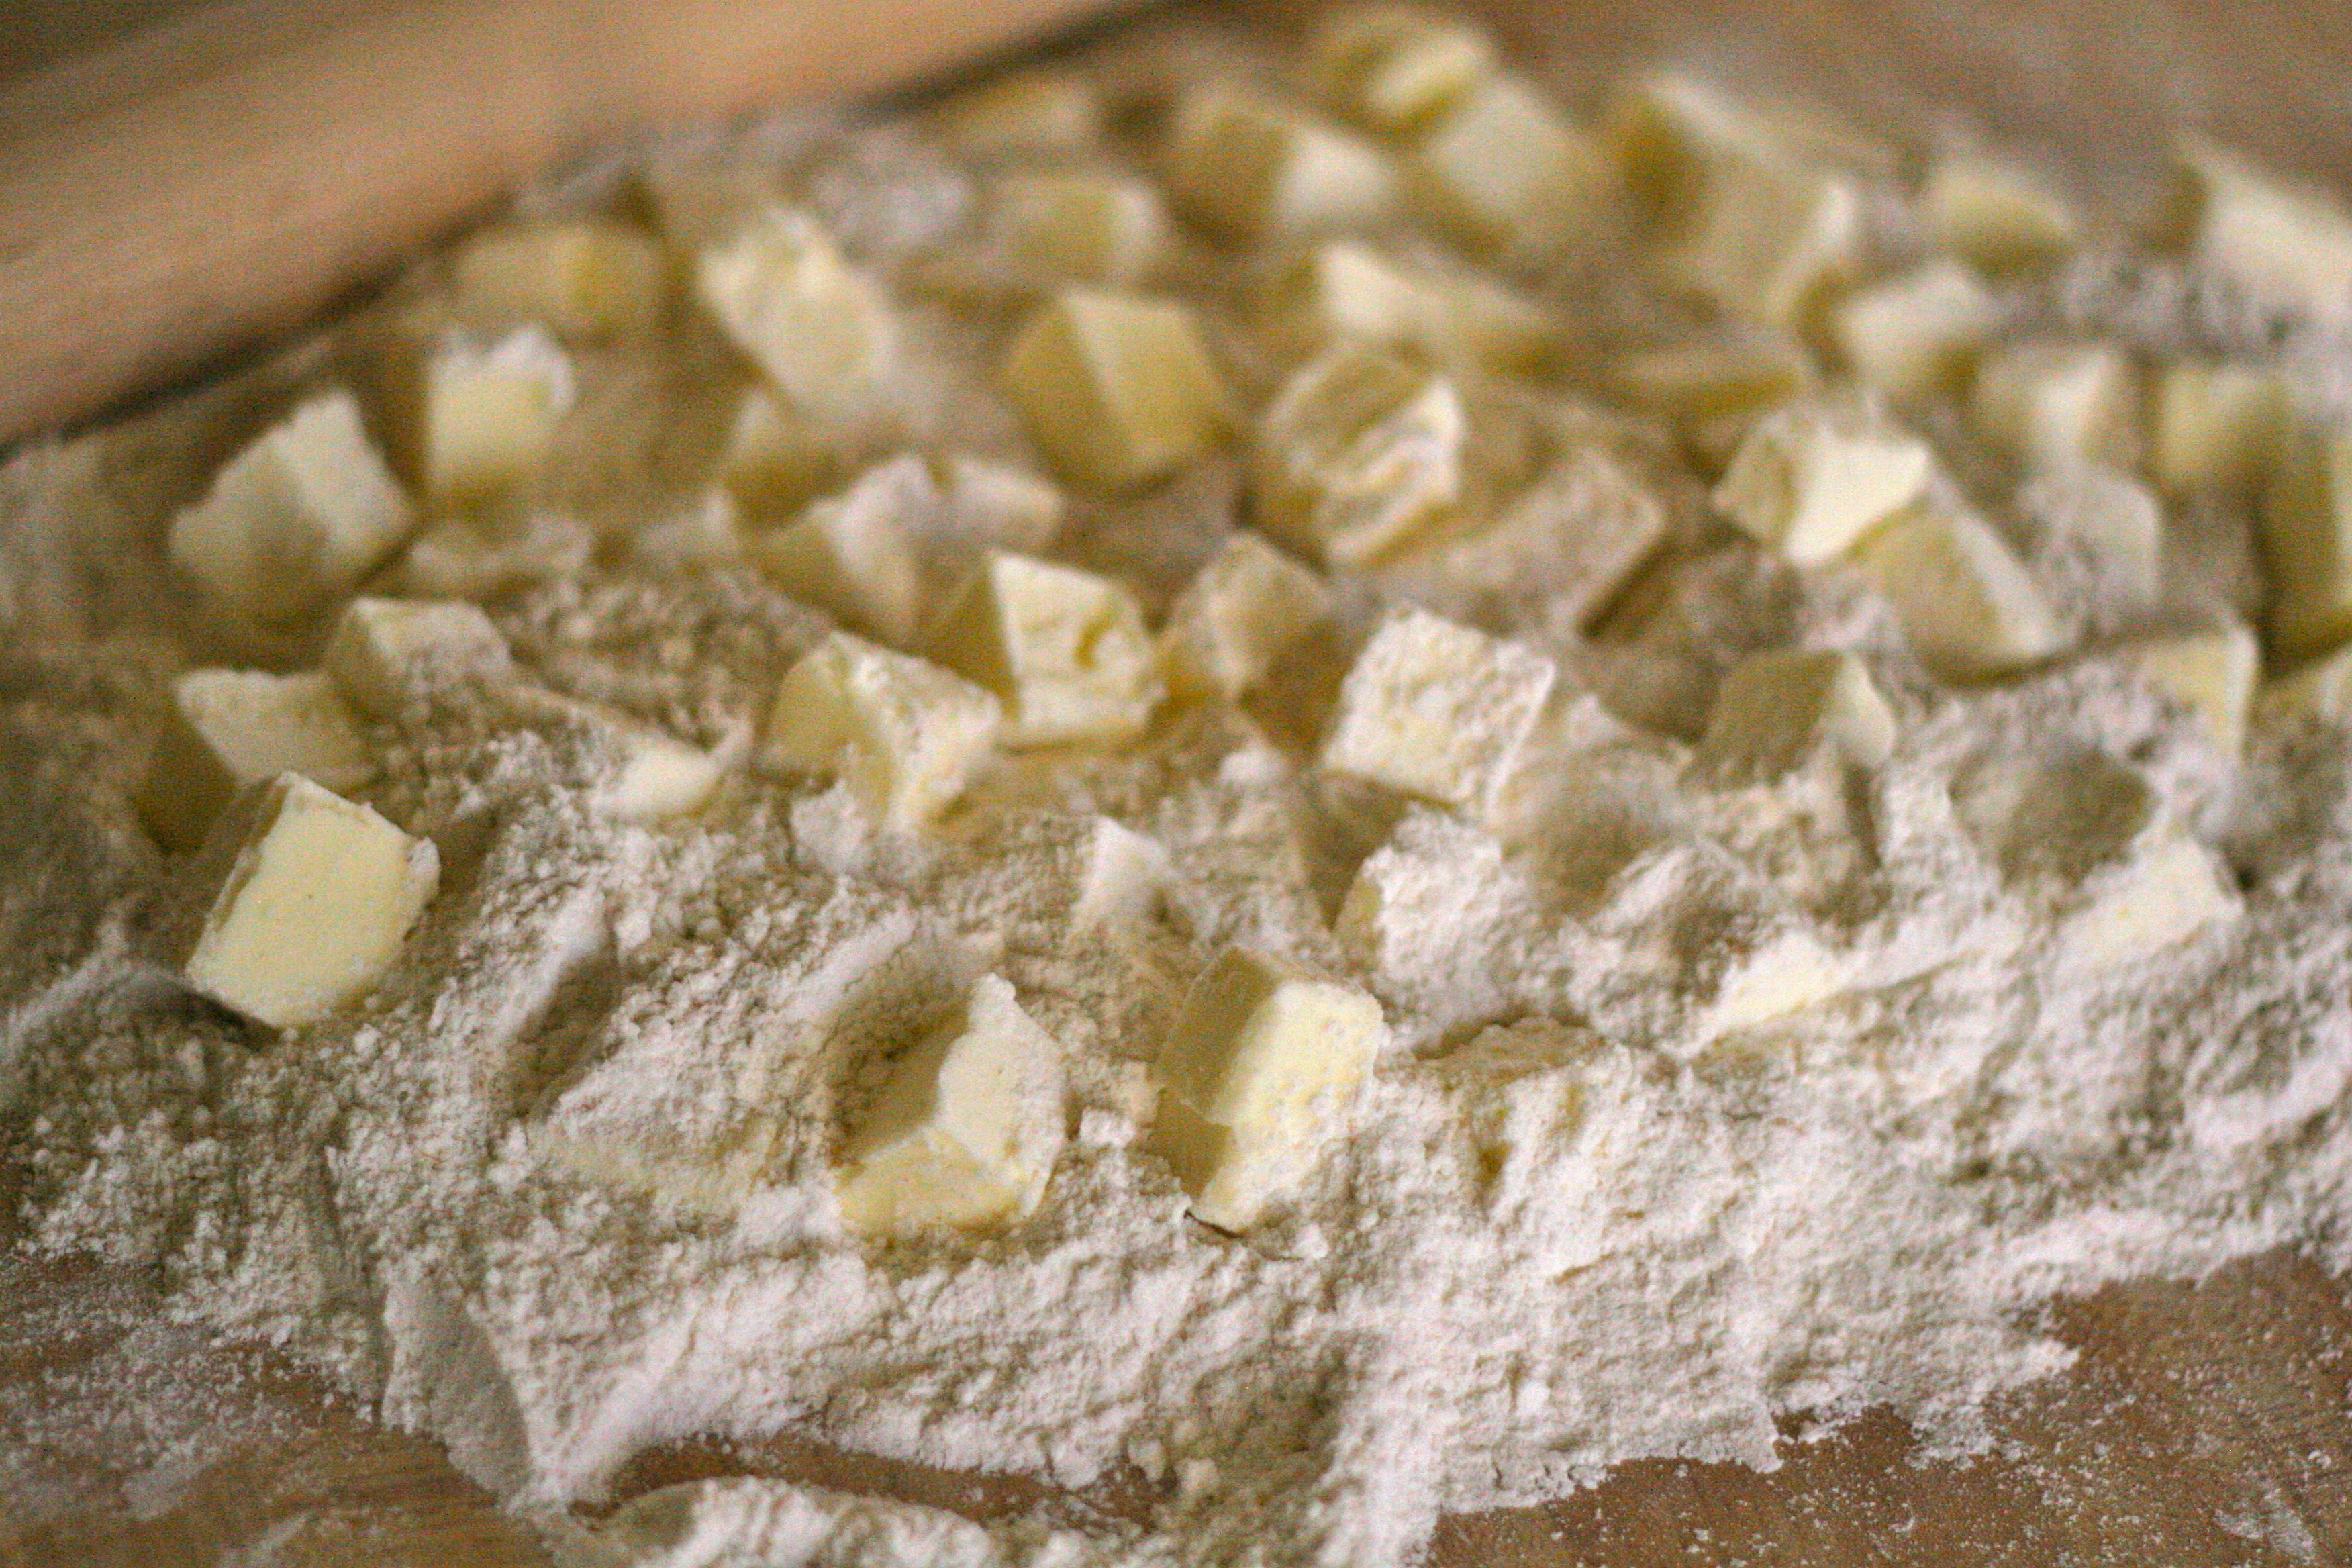
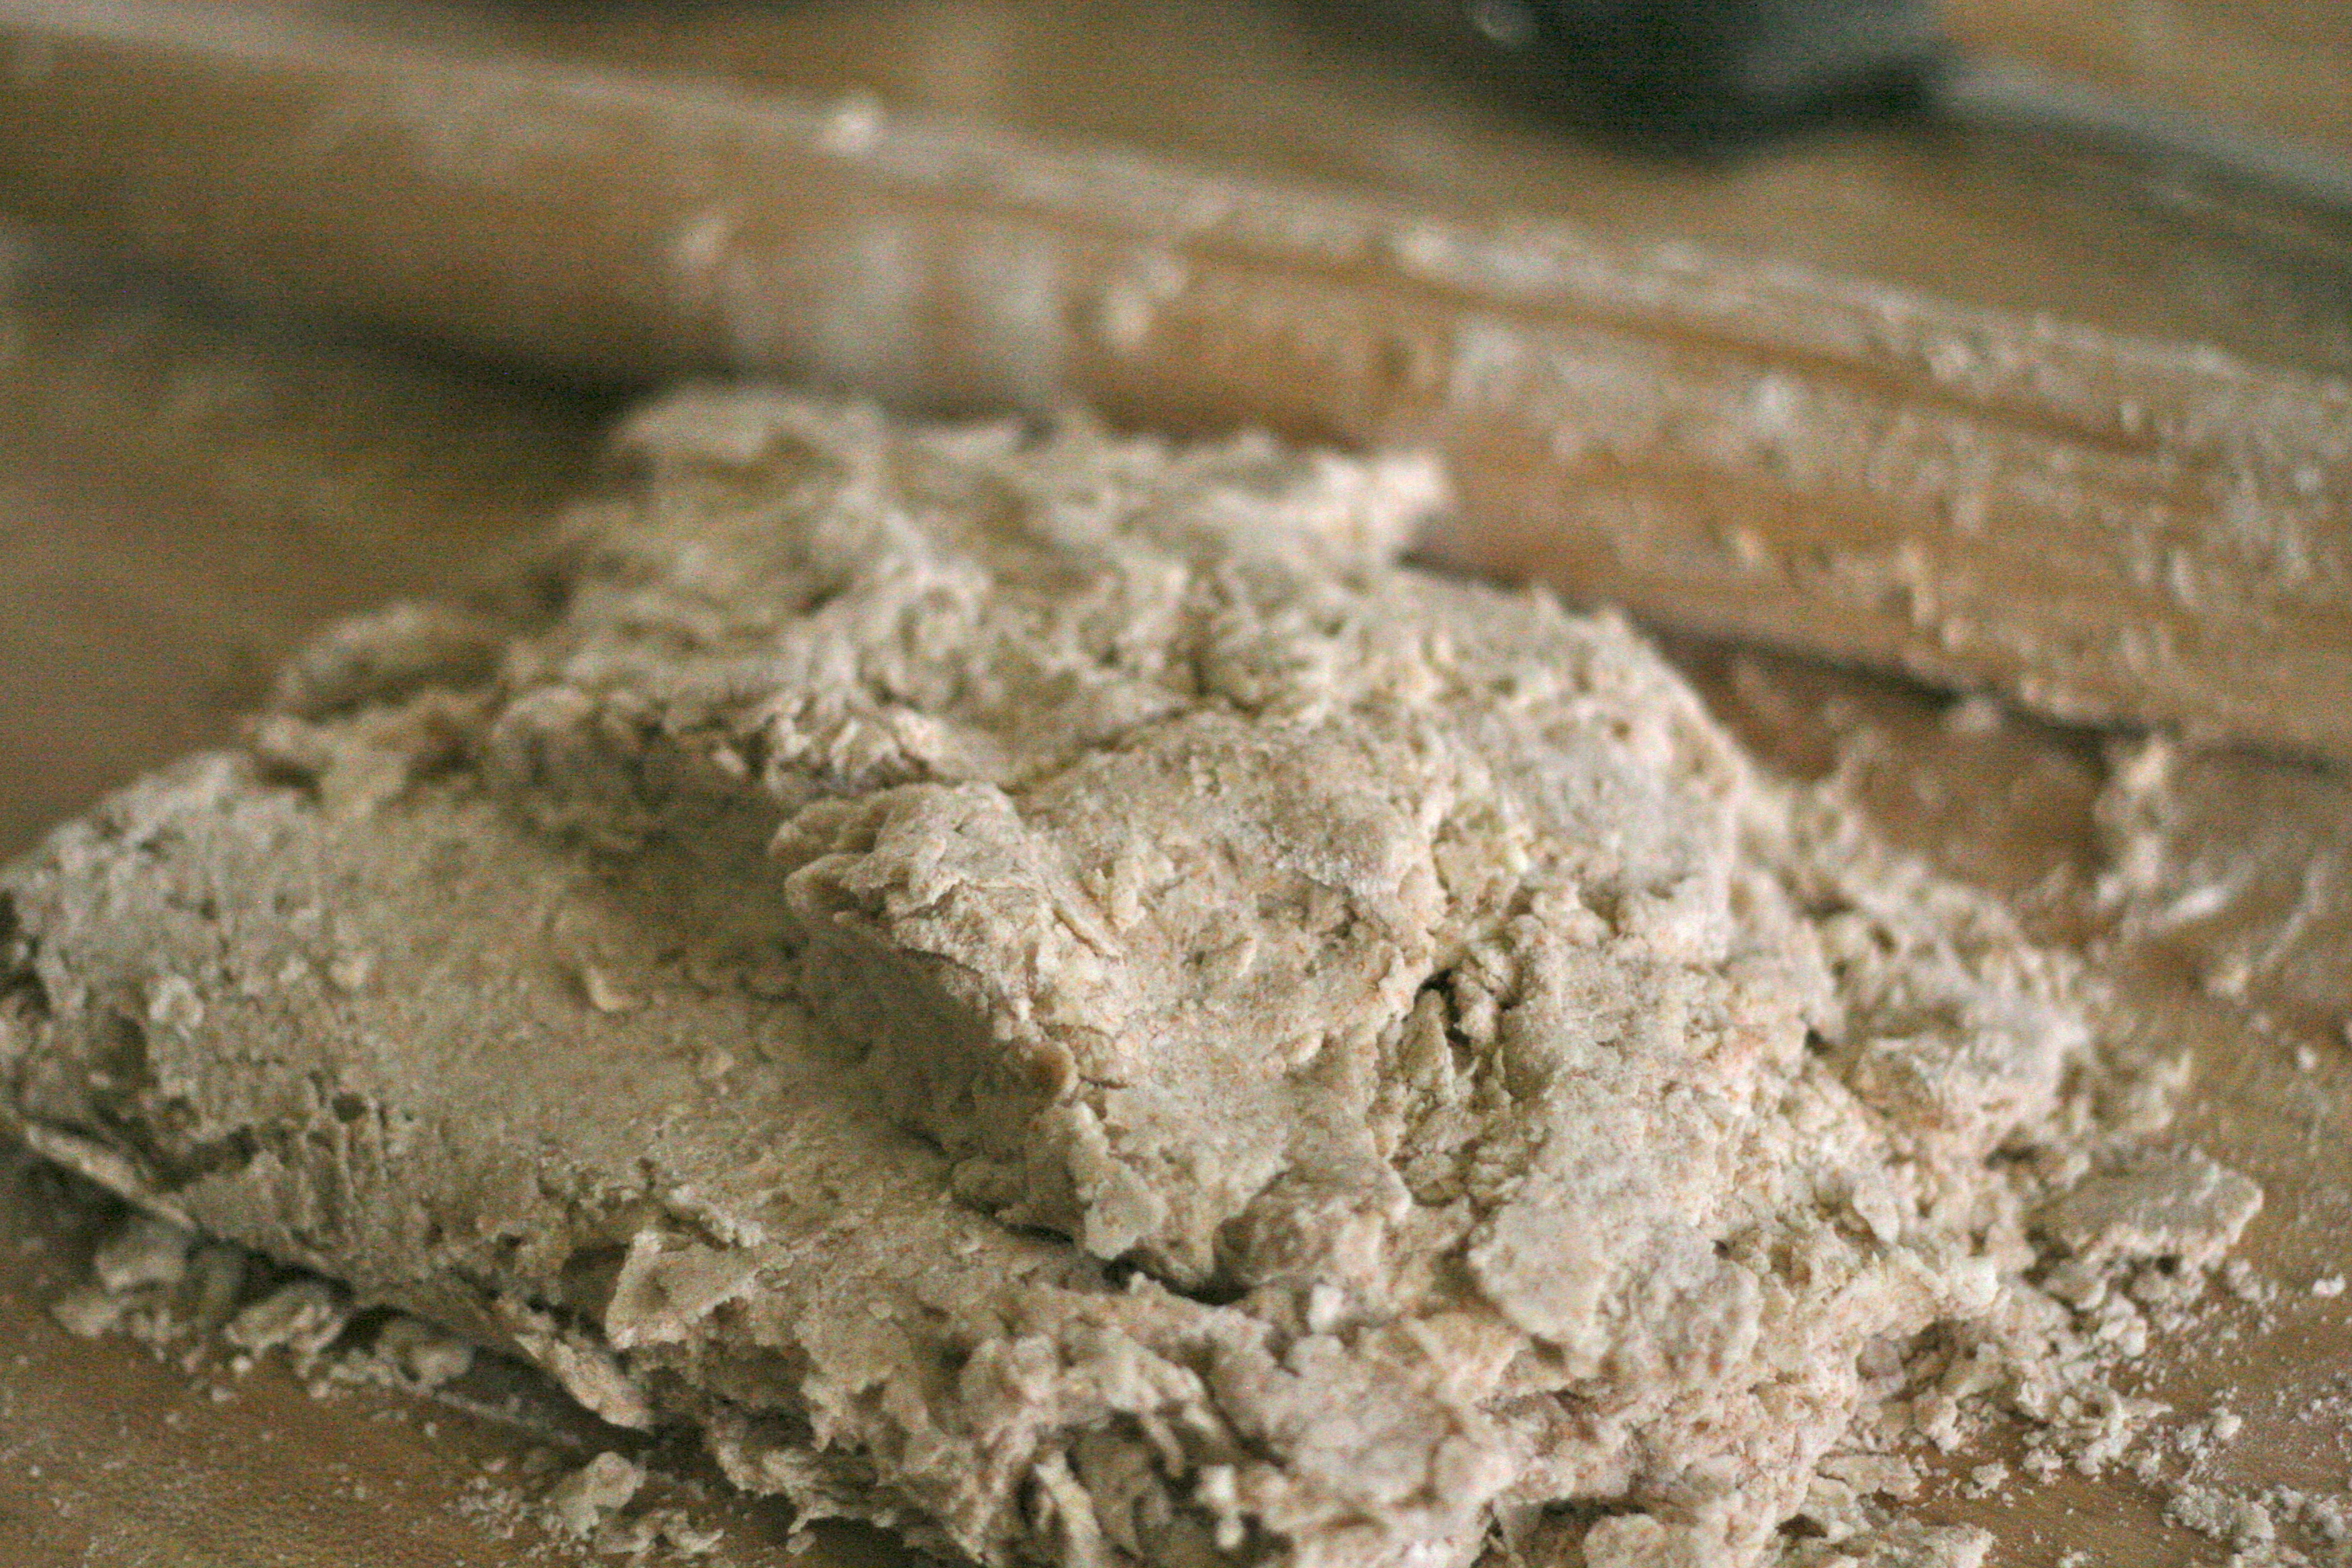
Milk Chocolate and Cacao Nib Cookie Dough

Visible Chunks of Milk Chocolate in Cookie Dough
It is my opinion that a basic chocolate chip cookie recipe with milk chocolate subbed in does not work. The cookie dough is wonderfully buttery, but just too similar to the milk chocolate for each part’s flavors to sing.
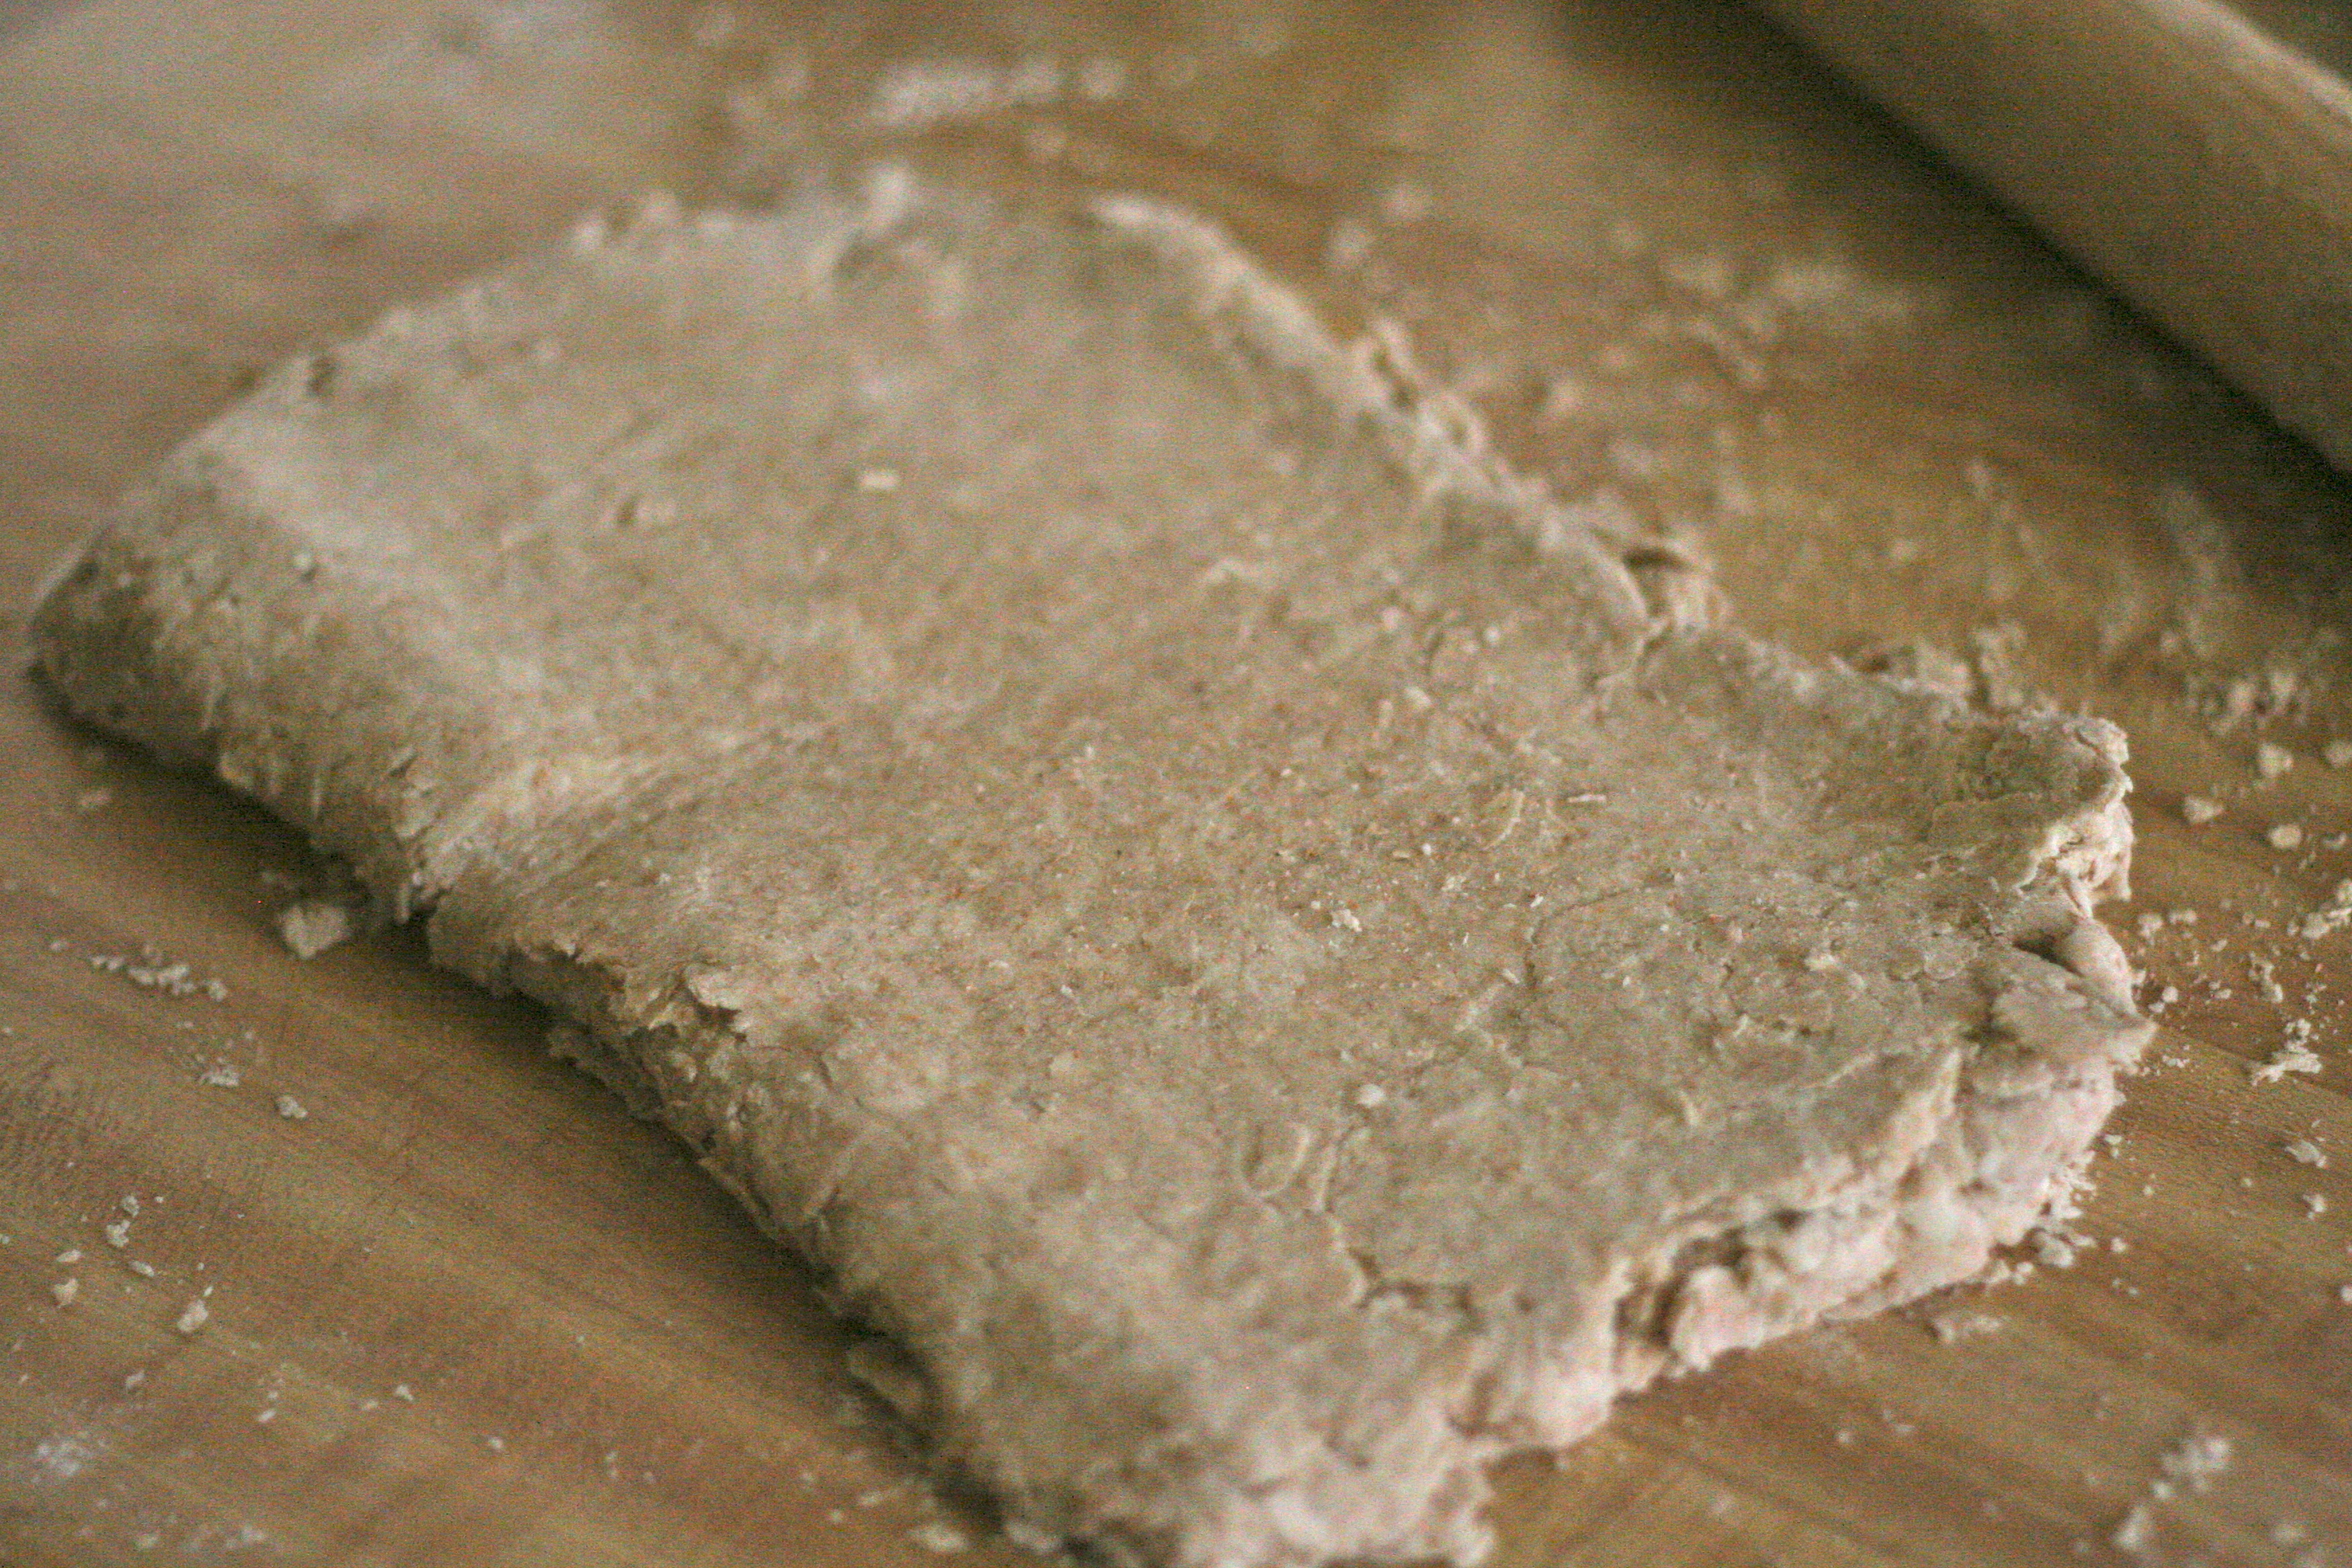
This cookie, however, has a dark chocolate dough base (with melted dark chocolate in the dough, kind of like a brownie) with milk chocolate chunks and cacao nibs. And I adore this cookie dough for the miniscule stack of dishes left in its wake. Great for throwing together after dinner or for a quick Mommy and 4-year old project while the toddler is napping. Just melt together the chocolate and butter in a medium pot (so it can be your entire cookie dough receptacle), add sugar, and the rest of the stuff. Roll the (impossible to resist) cookie dough onto parchment and you are ready to go.

Chocolate Cookies and Tea
Dark Chocolate Cookies with Cacao Nibs and Milk Chocolate
(adapted from here)
Notes: This is not a cookie that can overbake. If you are worried about the timing, underbake them. Also, I adapted this recipe from peanut butter sandwich cookies. These also make a phenomenal base for unsalted peanut butter (or Skippy Reduced Fat like my husband loves, which is sweetened) and crunchy sea salt sandwiched in between.
1/2 cup all-purpose flour
1/2 cup whole wheat flour (or sub A.P. flour)
1/2 cup unsweetened cacao powder, natural or dutch process
1/2 teaspoon baking powder
1/2 teaspoon salt
1 stick of butter (4 oz)
4 oz dark chocolate
3/4 cup turbinado sugar
1/2-3/4 cup regular sugar
1 tsp vanilla extract
2 eggs
6-8 oz roughly chopped milk chocolate (over 33% cacao solids)
1/4 cup cacao nibs
Line baking sheets with parchment and preheat oven to 325F degrees. In a pot that is larger than you think you need, melt the butter with the 4 oz dark chocolate. Leave to cool a bit.
In a separate bowl whisk together the flours, baking powder, salt, and cacao powder and set aside.
Stir the two sugars into the melted butter and chocolate, and then the eggs, one by one. Stir in the dry ingredients until a dough forms and then add the chopped milk chocolate and cacao nibs.
Form into balls on the parchment lined cookie sheets and bake for 10 or 11 minutes or until just barely firm (they will lose that doughy sheen). Do not overbake! Let cool and then enjoy alone or filled with peanut butter and a sprinkle of sea salt.


 waffles")


